Để dễ hơn trong việc gắn thêm nút mở popup thêm ảnh vào hay upload ảnh avatar trực tiếp trên thư viện wordpress như hình dưới đây.
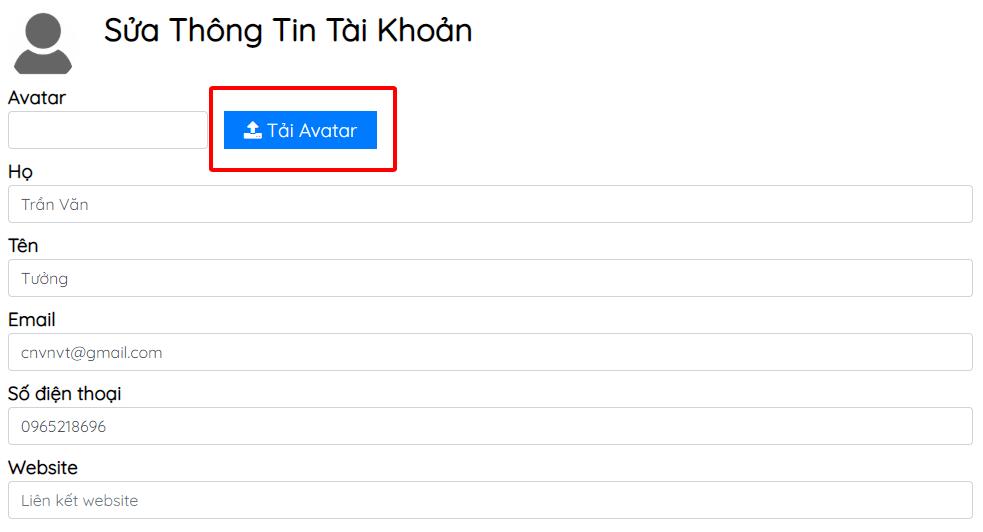
Click nút để mở popup lựa chọn ảnh hoặc upload ảnh mới để thay Avatar
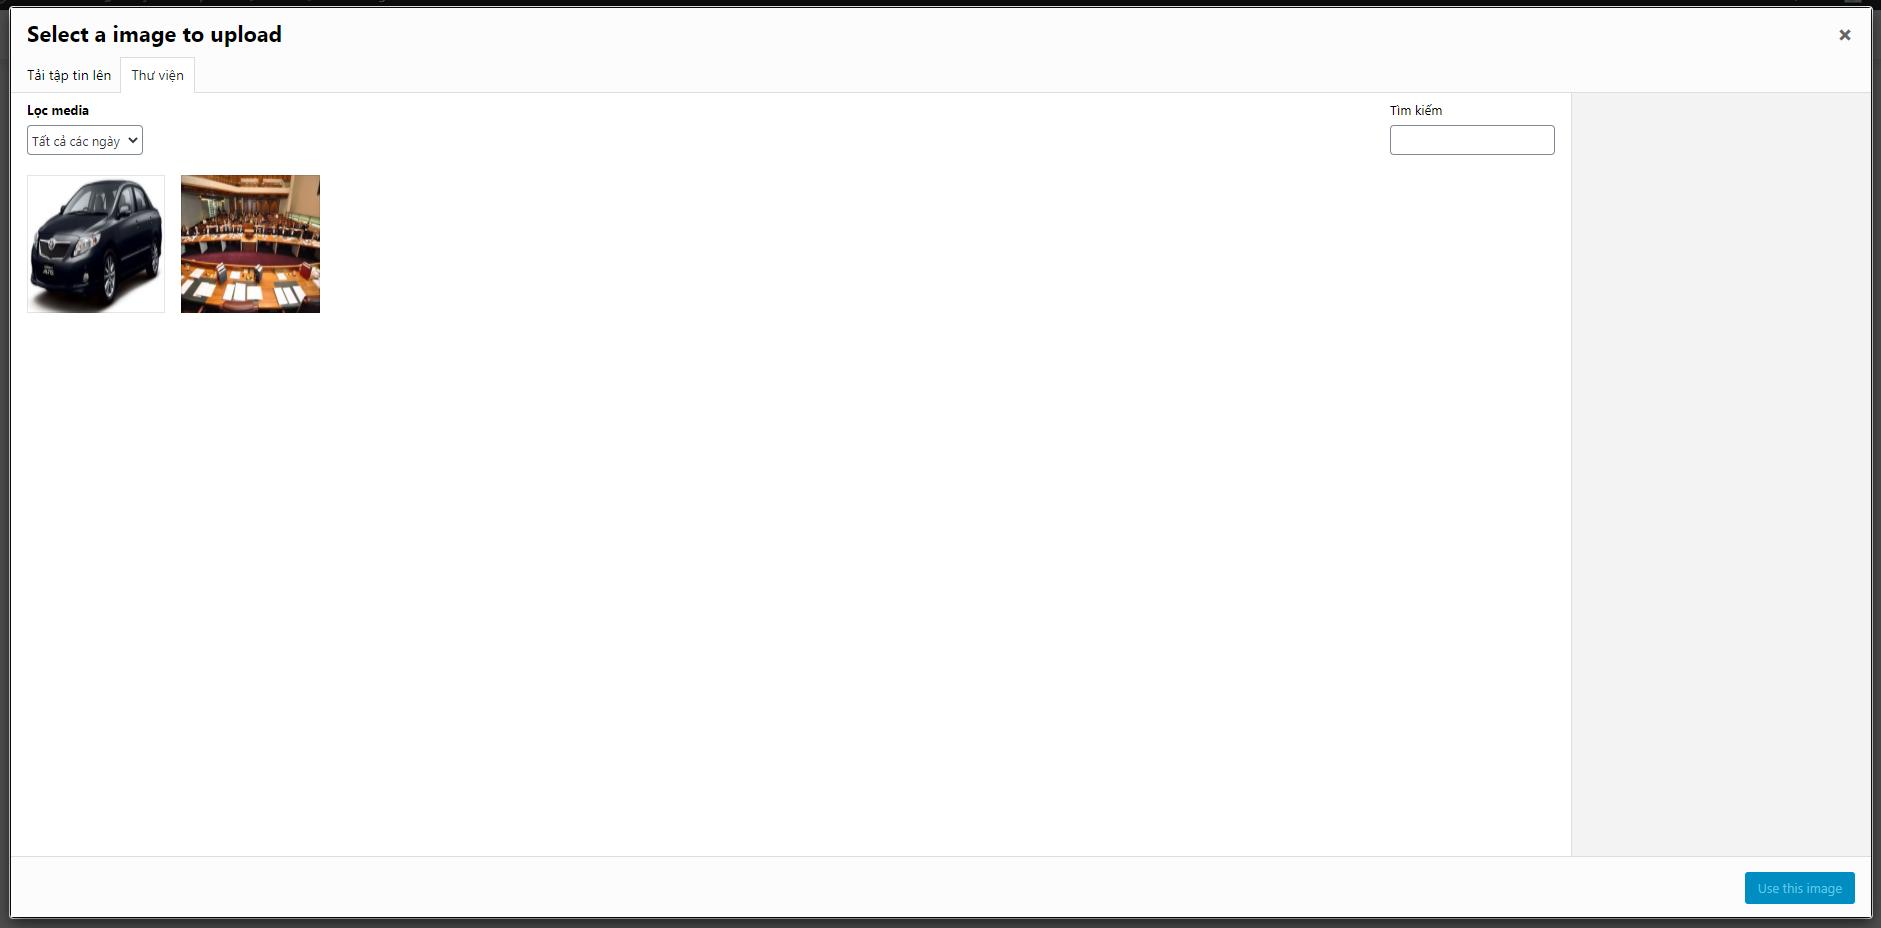
Đây là ảnh khi bạn mở ra có một loạt ảnh để lựa chọn
Ảnh trên là code tôi đã sửa lại một chút, còn code dưới đây là nguyên bản của người share.
<?php
if ( isset( $_POST['submit_image_selector'] ) && isset( $_POST['image_attachment_id'] ) ) :
update_option( 'media_selector_attachment_id', absint( $_POST['image_attachment_id'] ) );
endif;
wp_enqueue_media();
?><form method='post'>
<div class='image-preview-wrapper'>
<img id='image-preview' src='<?php echo wp_get_attachment_url( get_option( 'media_selector_attachment_id' ) ); ?>' width='200'>
</div>
<input id="upload_image_button" type="button" class="button" value="<?php _e( 'Upload image' ); ?>" />
<input type='hidden' name='image_attachment_id' id='image_attachment_id' value='<?php echo get_option( 'media_selector_attachment_id' ); ?>'>
<input type="submit" name="submit_image_selector" value="Save" class="button-primary">
</form>
<?php
$my_saved_attachment_post_id = get_option( 'media_selector_attachment_id', 0 );
?><script type='text/javascript'>
jQuery( document ).ready( function( $ ) {
// Uploading files
var file_frame;
var wp_media_post_id = wp.media.model.settings.post.id; // Store the old id
var set_to_post_id = <?php echo $my_saved_attachment_post_id; ?>; // Set this
jQuery('#upload_image_button').on('click', function( event ){
event.preventDefault();
// If the media frame already exists, reopen it.
if ( file_frame ) {
// Set the post ID to what we want
file_frame.uploader.uploader.param( 'post_id', set_to_post_id );
// Open frame
file_frame.open();
return;
} else {
// Set the wp.media post id so the uploader grabs the ID we want when initialised
wp.media.model.settings.post.id = set_to_post_id;
}
// Create the media frame.
file_frame = wp.media.frames.file_frame = wp.media({
title: 'Select a image to upload',
button: {
text: 'Use this image',
},
multiple: false // Set to true to allow multiple files to be selected
});
// When an image is selected, run a callback.
file_frame.on( 'select', function() {
// We set multiple to false so only get one image from the uploader
attachment = file_frame.state().get('selection').first().toJSON();
// Do something with attachment.id and/or attachment.url here
$( '#image-preview' ).attr( 'src', attachment.url ).css( 'width', 'auto' );
$( '#image_attachment_id' ).val( attachment.id );
// Restore the main post ID
wp.media.model.settings.post.id = wp_media_post_id;
});
// Finally, open the modal
file_frame.open();
});
// Restore the main ID when the add media button is pressed
jQuery( 'a.add_media' ).on( 'click', function() {
wp.media.model.settings.post.id = wp_media_post_id;
});
});
</script>
Hãy để vào vị trí mà bạn muốn hiển thị nhé. Sửa các trường “image_attachment_id” hoặc attr( ‘src’, attachment.url ) để thực hiện lấy url vào input nhé.
Tagged with: thêm nút media vào code page, WordPress media upload custom code
Để kết nối AirPods với PC, hãy đặt AirPods của bạn vào hộp, mở hộp và nhấn nút ở mặt sau. Khi đèn trạng...
Các ví dụ về hàm tính tổng trong Excel Các ví dụ cho biết cách tính tổng trong Microsoft Excel, bằng một hàm SUM đơn...
Theo mặc định, người dùng kích hoạt Siri trên macOS bằng cách nhấp vào biểu tượng thanh công cụ hoặc thanh menu...
Dưới là đoạn code thay đổi chữ Add to cart và thêm giỏ hàng của woo năm 2023, phiên bản mới nhất cho wordpress...
Bạn có biết bạn có thể hiển thị nhiều đồng hồ trong Windows 11/10 không? Bạn có thể để Windows 11/10/8/7 hiển thị...
Bảng tổng hợp thật tuyệt vời! Chúng là một trong những tính năng mạnh mẽ nhất của Excel , chúng cho phép bạn nhanh...

Bình luận bài viết
Đăng nhập để bình luận và xem các bình luận khác.